Eleanor Clarke
GARDEN DESIGN
Make More Plants for Free
There’s nothing quite like free plants, from a neighbour, passed over the garden fence, as a birthday gift (in a brown paper Nunhead Gardener bag, of course) or – and here we’re in top-tier freebie zone – from seeds or cuttings you’ve grown yourself.
Plant cuttings taken in late spring and summer are called softwood cuttings, for obvious reasons: they’re taken when stems are sappy and in full growth. We’ll come back to hardwood cuttings another time – it’s a winter trick mainly used for propagating shrubs and trees.
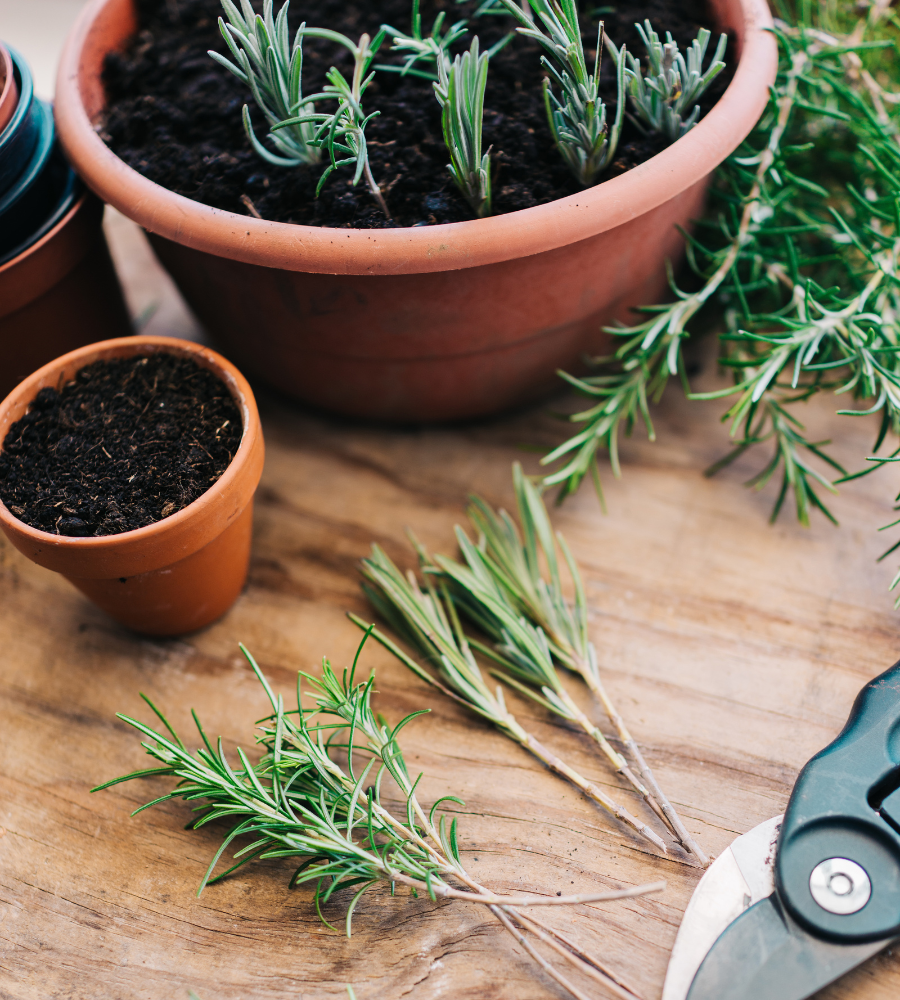
At this time of year (any time from May to September), making more plants from cuttings isn’t complicated, and getting the hang of it is easy. It’s worth remembering, too, that taking cuttings doesn’t just give you heaps of new plants for free, it can also give your old plants a real boost, keeping them looking fresh, healthy and full of vigour. Many plants, such as lavender, rosemary and thyme, can become woody at the base, so taking cuttings is a brilliant way to replace them. You never know, you might even have enough to pass one or two over the fence to a neighbour…
Which plants are good candidates for softwood cuttings
There’s a huge list of perennials and shrubs you can take spring/summer cuttings from, but some of the easiest and most reliable include:
- Penstemons
- Rosemary
- Salvias
- Pelargoniums
- Verbena
- Buddleia
- Fuchsia
- Hydrangea
- Perovskia
- Ceanothus
- Philadelphus
- Artemisia
- Gaura
- Lavender
- Osteospermum
- Pinks (dianthus)
- Thyme
What you’ll need
When the weather’s warm, plant cuttings can wilt and die quickly, so, get all your compost and pots set up ready to go before you start snipping. Cuttings compost needs to be really well draining and nutrient free. Any richness will encourage too much growth too quickly, giving you leggy cuttings that struggle to support themselves. Buy a specialist cuttings compost or make your own mixture using, say, peat-free seed sowing compost mixed 70:30 with perlite or horticultural grit.
For the containers, 9cm pots are great for growing four cuttings around the sides; use module trays if you’re going to be taking cuttings on a larger scale as they make better use of space and the rooted cuttings are easier to transplant.
You’ll also need a bowl or bucket of water to collect your cuttings in.
When and how to make your cuttings
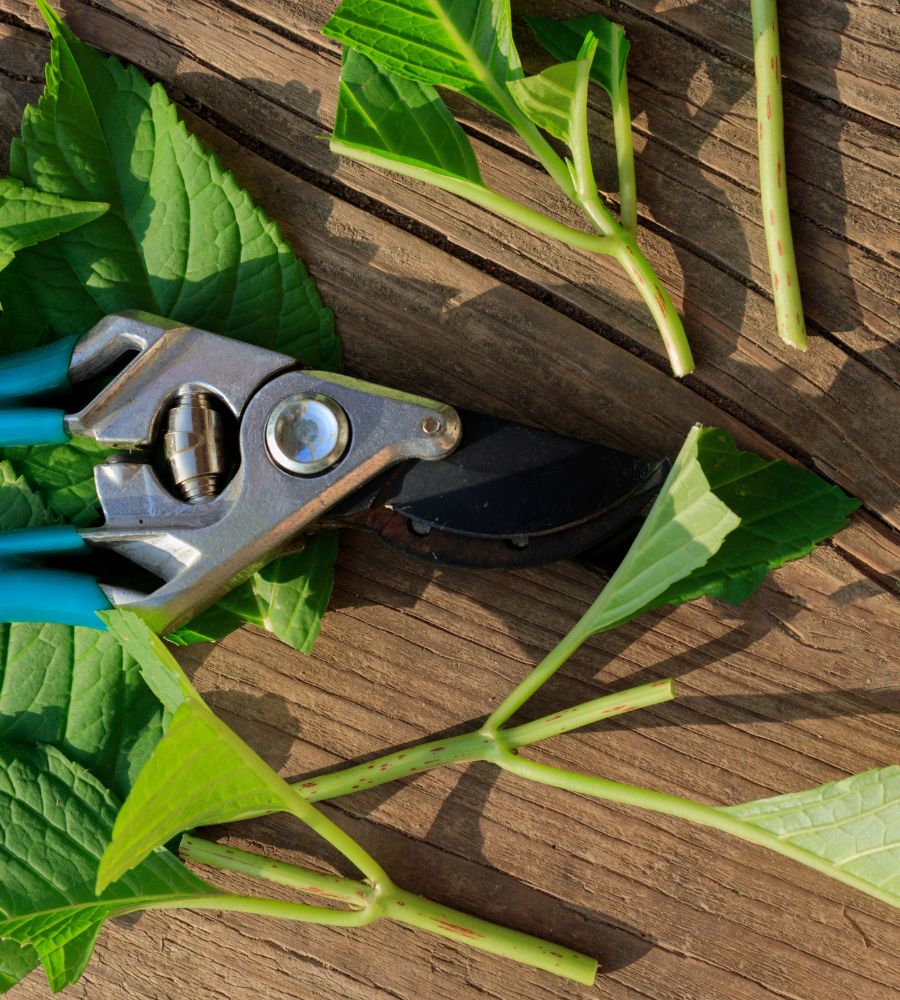
It’s best to take cuttings from your garden either early in the morning or later in the evening, when plants are perky and the heat of the sun won’t make cut stems wilt before you get them in the compost. Cut your chosen stems at the base (better to choose non-flowering stems, but if they’re all in flower don’t worry, you can cut them off later) and pop them straight into your bucket of water.
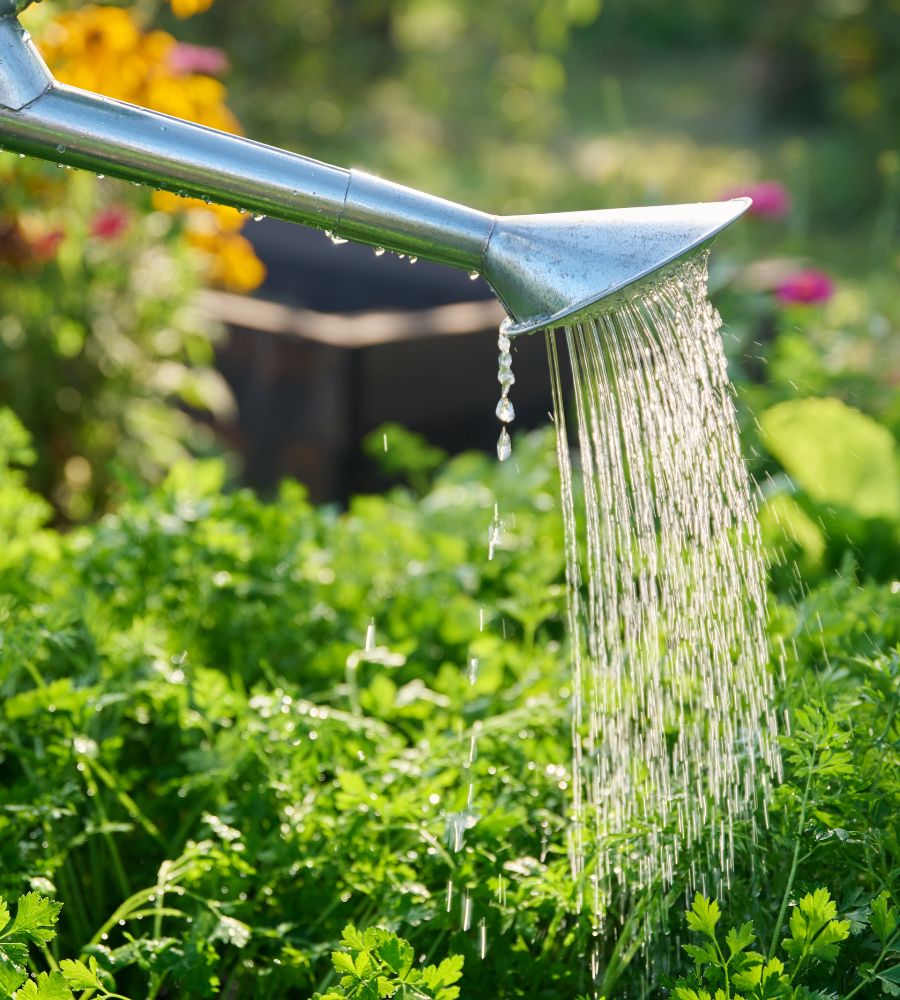
Back indoors, at the kitchen table, or at a shady potting table outdoors, it’s time to turn those stems into lots of little cuttings. The new growth at the top of each stem is too soft to root well, so cut this off, along with any flowers. If the bottom of the stem is woody, cut this off too. Then cut a healthy 8-10cm piece (not in flower) from the plant, snipping under a pair of leaves. Pinch off the leaves from the lower third of the stem, then insert into your compost, using a dibber or pencil to make a hole first. Then carry on in the same way, filling and labelling your pots, then watering gently.
One more thing, if your chosen plants have large leaves, say penstemons or Salvia guarantica, they’ll lose a lot of moisture through the leaves, so remove one of the top pair of leaves or snip off up to half of each one (also do this if the leaves of your cuttings are touching in their pots to prevent mould forming).

How to look after your cuttings
Find a shady place in a greenhouse, against a wall of the house or indoors somewhere cool and light to keep your cuttings. Keep a watchful eye on them, especially during the first few weeks, and mist occasionally with water, just while the roots get going. You could cover them with a transparent plastic lid – from a propagator or use a storage box – but if you do, prop it open to allow air in. If any cuttings begin to rot, get rid of them straightaway to stop mould spreading.
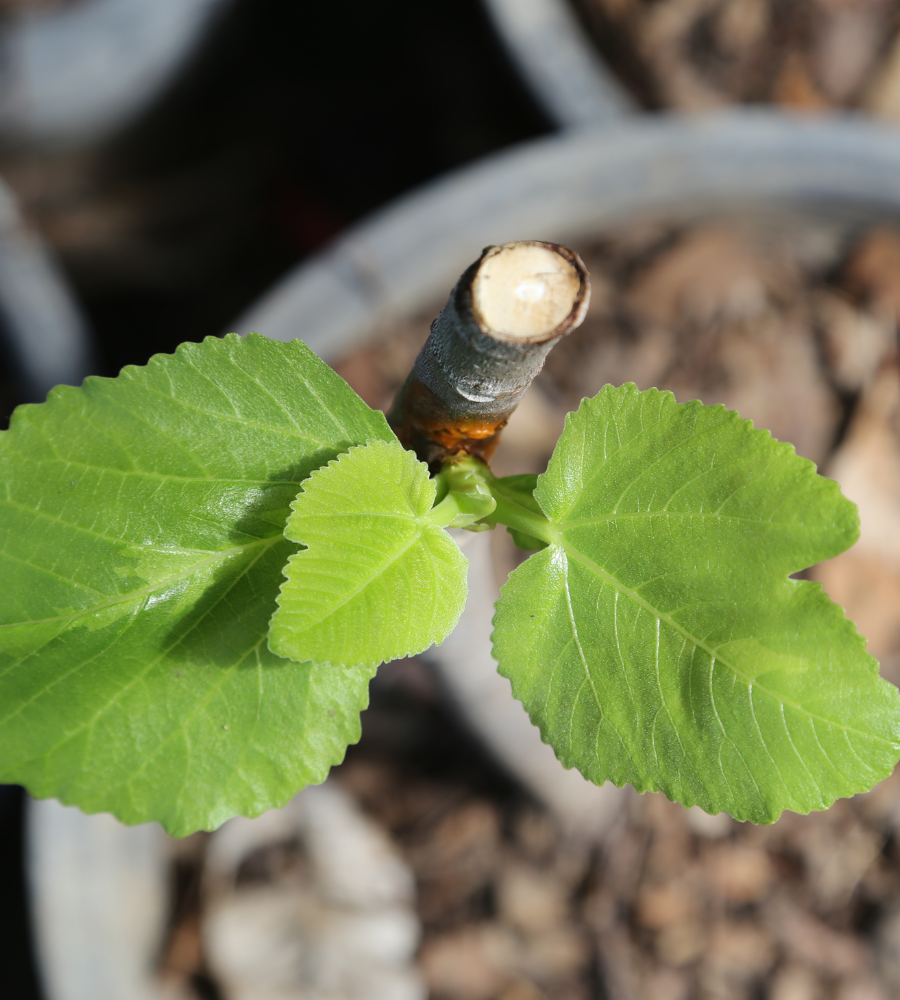
Once you see good root growth coming through (carefully look underneath the pot to check), move anything grown together in smaller pots into individual pots of good-quality potting compost; you can wait a little longer if you’ve made cuttings in a module tray, but don’t leave it too long – once your new plants have roots they’ll need more space and a richer compost to really get growing. They’ll be ready to plant out in the garden next spring.
We love making new plants from cuttings. It’s exciting and rewarding. Once you’ve tasted success, we’re sure you’ll agree. There’s nothing more satisfying than seeing plants you’ve propagated yourself growing, thriving and flowering.