Eleanor Clarke
GARDENING
Step-by-Step Seed Sowing + 10 Seeds for Beginners
For many of us, our first foray into seed sowing was mustard and cress, grown on a piece of kitchen paper or in a cleaned out eggshell stuffed with damp cotton wool. Or maybe peas in jam jars at school. It was exciting to see the peas split and roots and shoots burst forth. Many, many years later, we still have a childlike excitement for growing with seeds. We think once you catch the bug, it’s something that never leaves you.
All kinds of fruit, veg and flowers are easily (and cheaply) started off from seeds. And while getting from sowing to germination, initial growth and planting out is simple with some varieties and tricky with others, it’s a wonderful process with rich rewards. You don’t need fancy kit either. In fact, most seeds can be started off in homemade card or paper pots, although it’s worth investing in a seed tray or two to make life easier.
What you’ll need
Pots
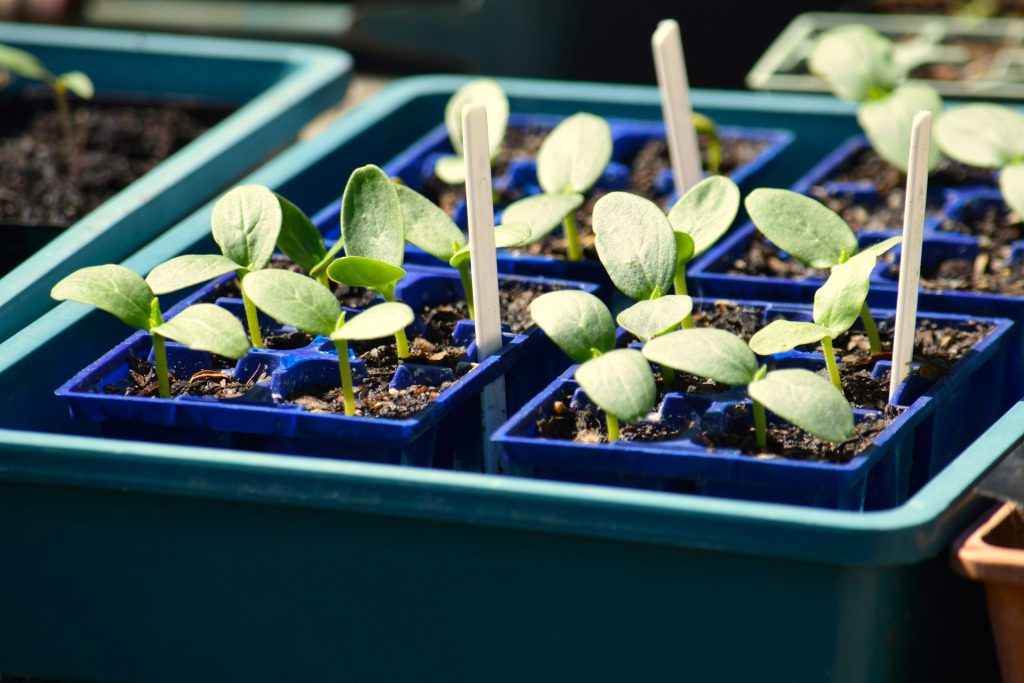
Choosing from all the different seed-sowing bits and bobs can be bewildering. The simplest way to sow seeds is in trays or pots. A tray (with or without individual cells) can be used to sow lots of seedlings. If you only want to sow a few of one plant, you’re probably better off with 10cm pots. Think about how many seedlings you want to raise: if the pots are too big, you’ll waste space and compost; too small and seedlings could become overcrowded and die. Some plants, most notably beans and sweet peas, quickly develop long roots. Sow these in deep pots so that you don’t disturb the roots when you plant them out.
Compost
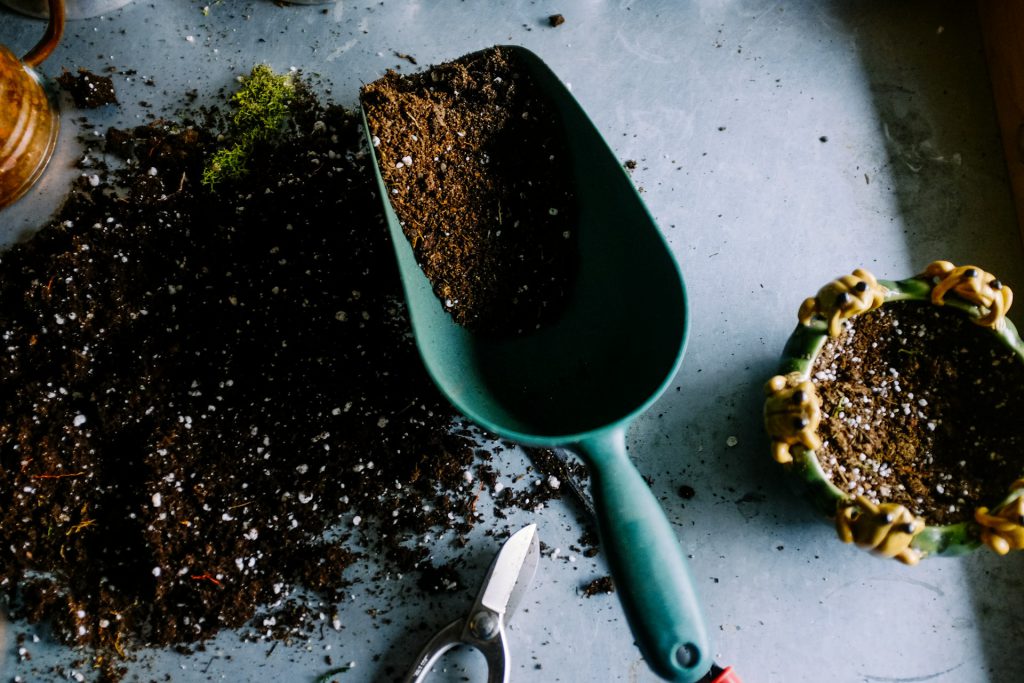
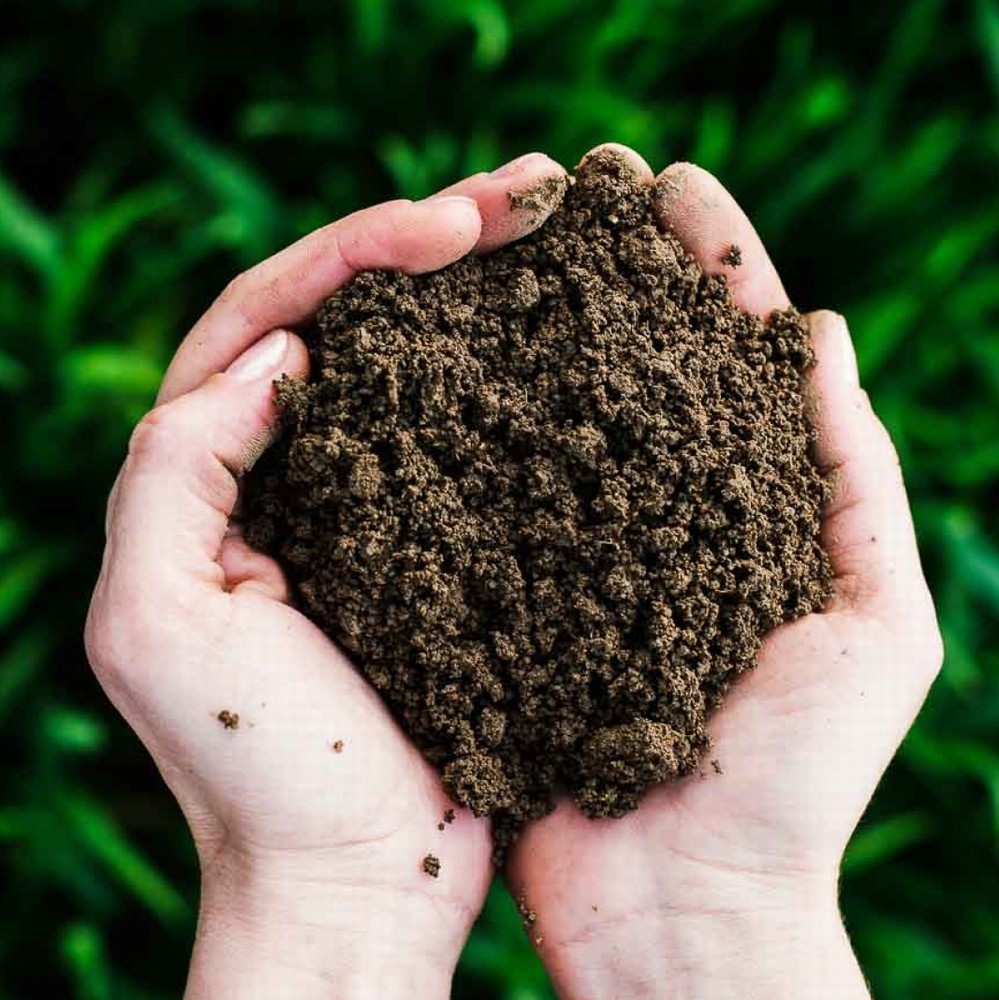
A good general-purpose peat-free seed compost is all you need for sowing. It’s fine textured, which keeps the seed in contact with the soil, resulting in more consistent germination. It’s also low in nutrients, which is essential for young seedlings; give them too much goodness and they’ll quickly turn leggy and unable to support themselves. Don’t worry: when they’re bigger, you’ll move them on to a richer compost, or good garden soil.
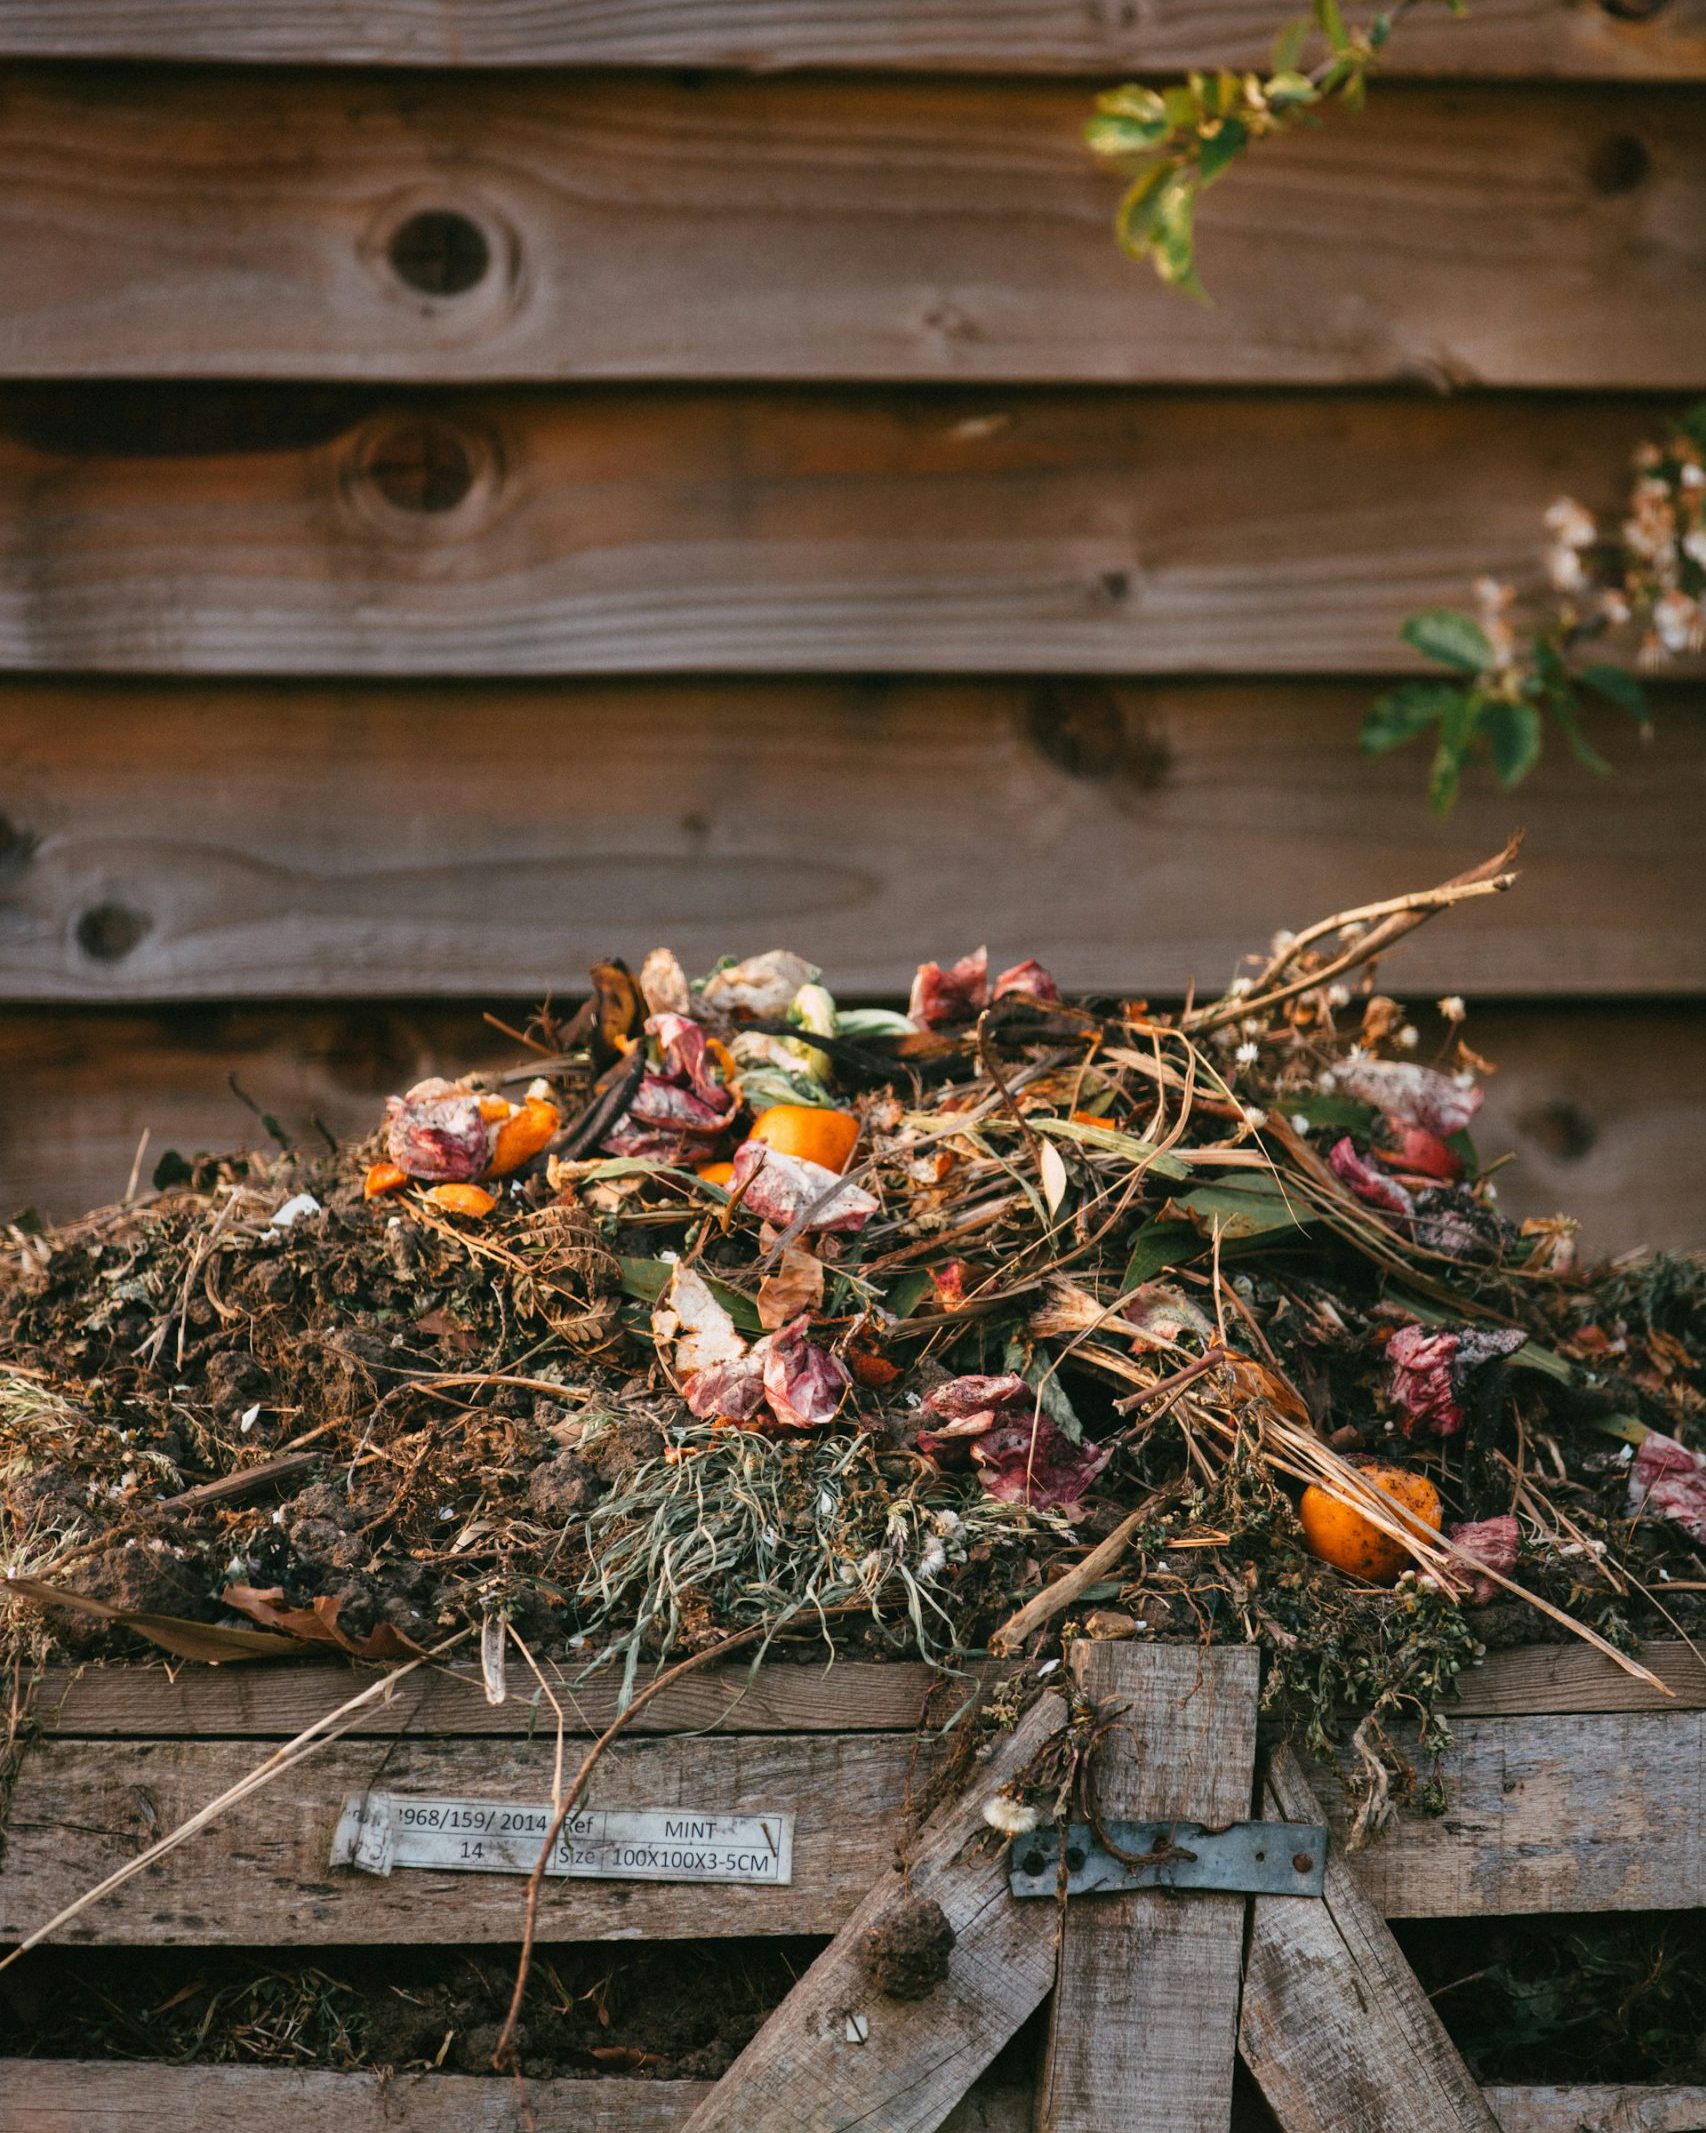
For your own compost, read our guide for starting a compost heap
Step by step: seed sowing
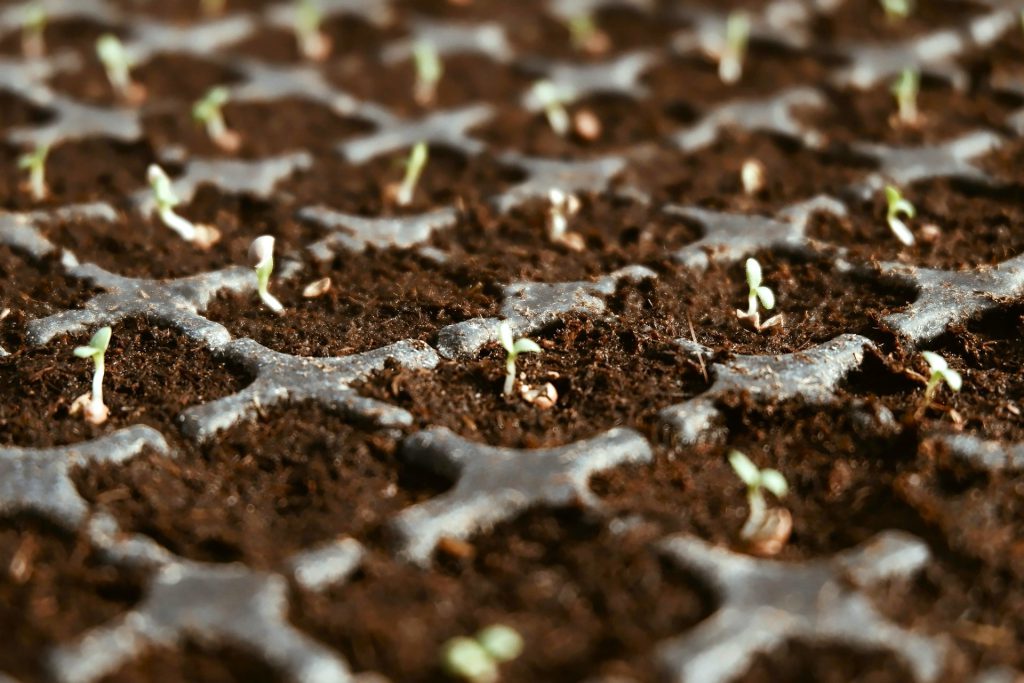
Step 1: Slightly overfill your container with seed compost, making sure it gets right into the corners if you’re using a tray.
Step 2: Brush off the excess compost with your hand.
Step 3: Gently firm down the soil. Use the bottom of another tray if you’re using a tray, the bottom of another pot or a special soil tamper. Don’t press too hard as seeds will struggle to grow in compressed soil.
Step 4: Water, either from above using a watering can with a fine rose, or from below by soaking your container in a tray of water until the surface is moist.
Step 5: Sow seeds as directed by the seed packet. Sow tiny seeds in lines, up and down and side to side in a seed tray. Lie larger seeds individually on the surface of the compost.
Step 6: Cover with a layer of sieved compost, usually to about twice the thickness of the seed, but check your packet for instructions.
Step 7: Label with the plant name and date.
Step 8: Water CAREFULLY or you’ll wash all the seeds to one side of the tray/pot. Use a watering can with a fine rose (brass gives a finer spray than plastic), turning the rose to face upwards and watering slowly and evenly from side to side.
Step 9: If you’re sowing perennials (these can take up to a year to germinate), it’s best to cover the surface of the soil with a thin layer of horticultural grit to keep moss and weeds at bay.
Step 10: Pop the trays somewhere cool, light and airy to germinate. Contrary to popular belief, the kitchen is the worst place: the warm, damp atmosphere encourages leggy seedlings and air-borne diseases. An unheated greenhouse or coldframe, a space near a window in the shed, or an unheated spare room is ideal.
What happens next?
Keep checking your seed trays/pots to make sure they don’t dry out, and soon you’ll see signs of live. Germination speed depends on what you’re growing. Some seeds (these tend to be annuals and veg seeds) germinate within days, others can take up to two years! Which explains why you can still get sycamore seedlings sprouting in your flowerbeds years after a tree has been cut down.
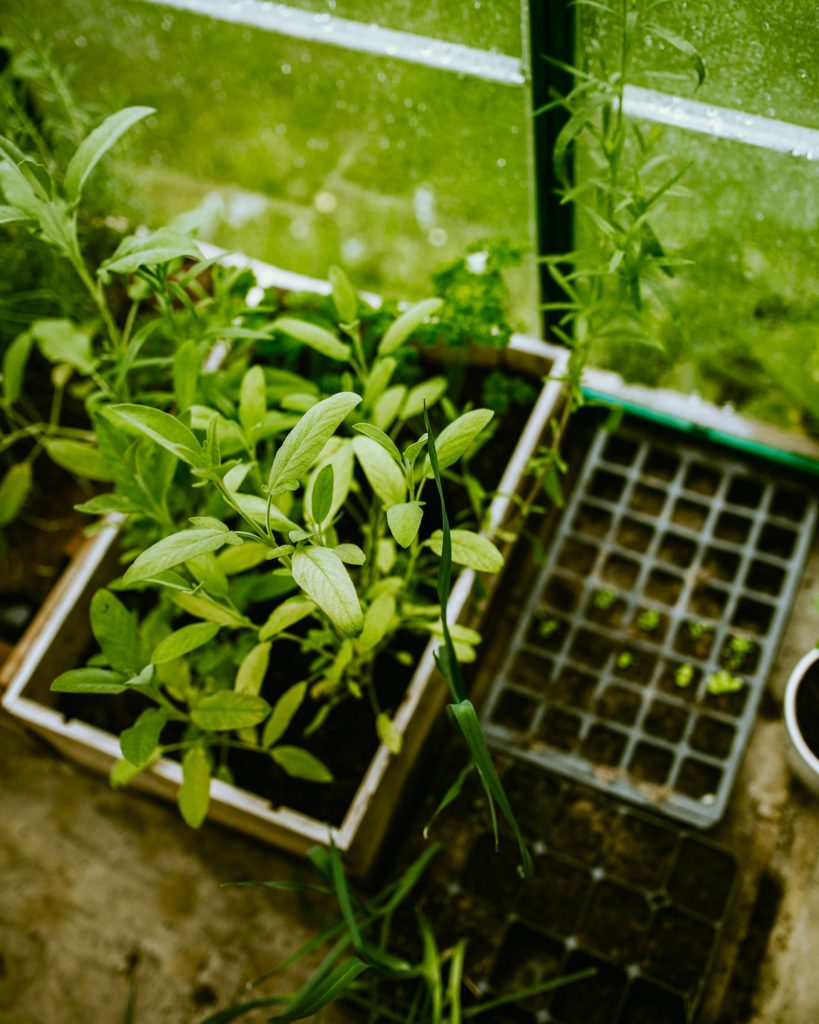
What you’ll see first are two false leaves called cotyledons, which give the seedling more energy to grow. Next you’ll see the first set of true leaves. When these are big enough to handle gently, it’s time to move the seedlings on to bigger pots with more nutrients and space to grow. This is called pricking out.
Step by step: pricking out
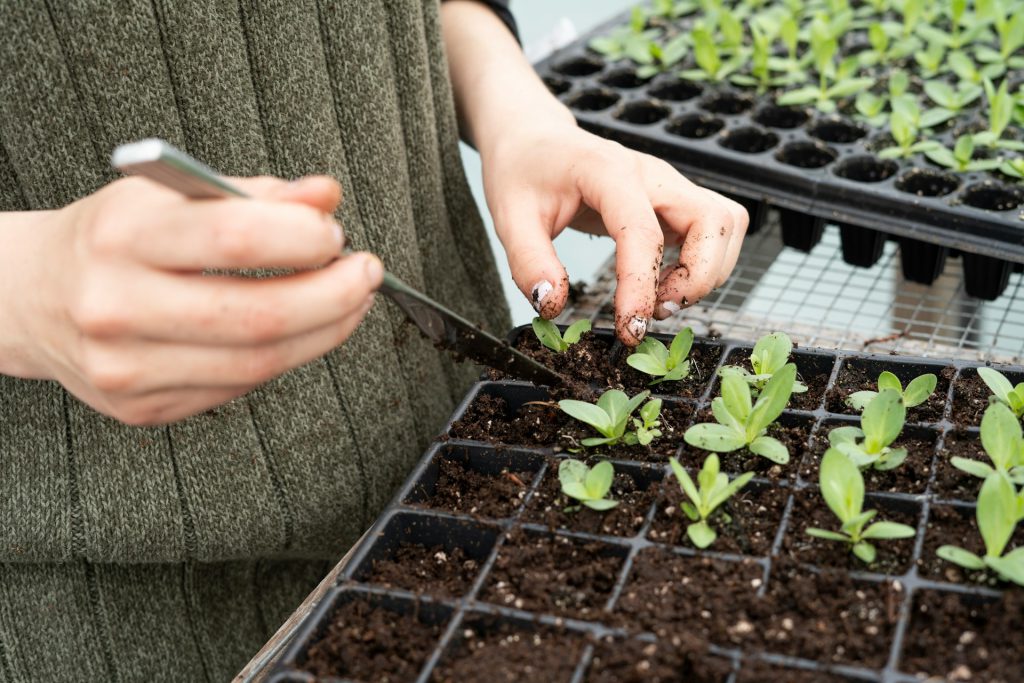
Step 1: Fill small pots or module trays with a multipurpose potting compost and firm down the compost gently.
Step 2: Gently push a pencil or a special widger into the compost under each seedling, holding the seedling gently by a leaf (a leaf will grow again; don’t hold them by the stem, as a stem is much easier to damage). Ease the seedling out with as much compost on the roots as you can.
Step 3: Make a hole in the new pot with a pencil or dibber and gently drop the seedling in, lowering it to the point where the lowest leaf is level with but not quite touching the compost. Gently tickle in the compost around it using your pencil or dibber.
Step 4: Water carefully with tepid water, as before, using the upturned fine rose of a watering can.
Step 5: Label and date, and return to your greenhouse, coldframe or bright, unheated room.
Caring for your mini plants
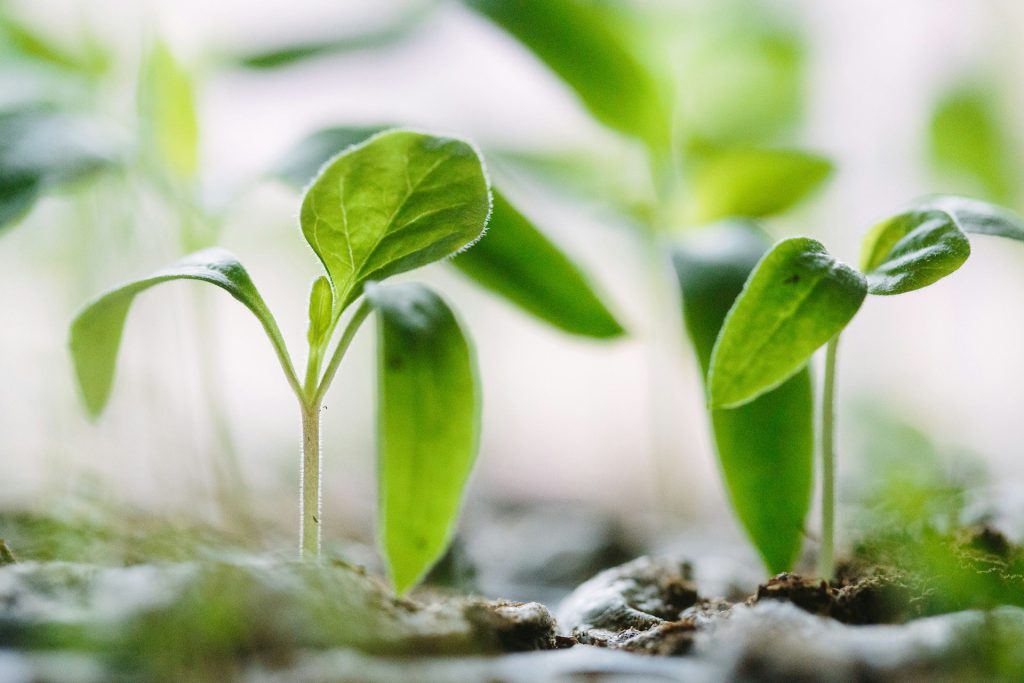
As your seedings grow, you’ll need to be vigilant with light and water. This means giving the pots a turn every couple of days so the plants don’t end up leaning towards the light. It also means watering sparingly, just enough so they don’t dry up; too much water can encourage diseases and lead plants to rot.
On warm spring days, you can take your seedlings outdoors into the shade for an hour or two. Gradually increase the time they spend outdoors until they’re ready to be planted in their final spot, in the veg patch, in a patio/balcony pot or in a flower border, once the danger of night frost has passed. This is an important step, called hardening off, which gradually acclimatises your plant to life in the cool, less predictable open air. If a young plant goes straight from greenhouse to outdoors without acclimatisation, it can go into shock and die.
And finally, don’t worry…
There are so many variables with seed sowing: the weather, watering, the quality and age of your seeds. So accept that not every seed will make it from packet to final position in your garden. That’s just how it is. Some won’t germinate, others will wilt or get leggy and keel over. Just sow a few more if you’re left without enough. When you finally see your hand-reared plants thriving and flowering, you’ll soon forget any losses you suffered along the way.
10 easy seeds for beginners
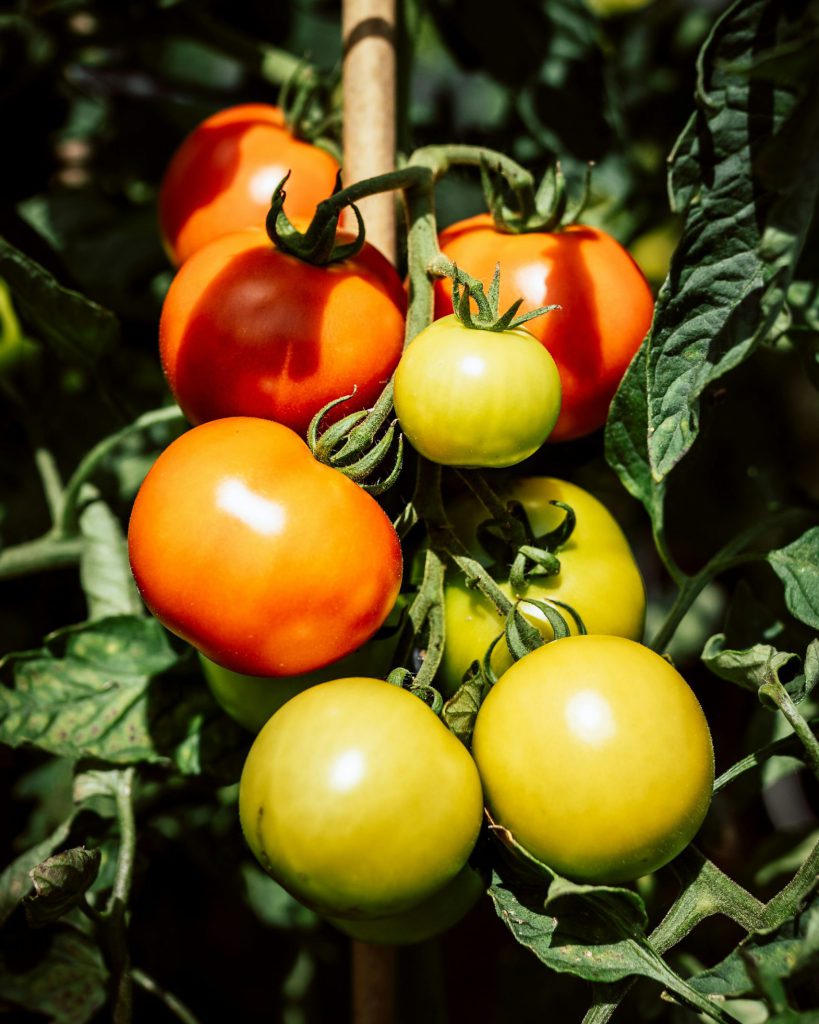
‘Gardeners Delight’ tomatoes
A reliable and tasty cherry tomato. Sow from March, indoors, and plant out in late spring.
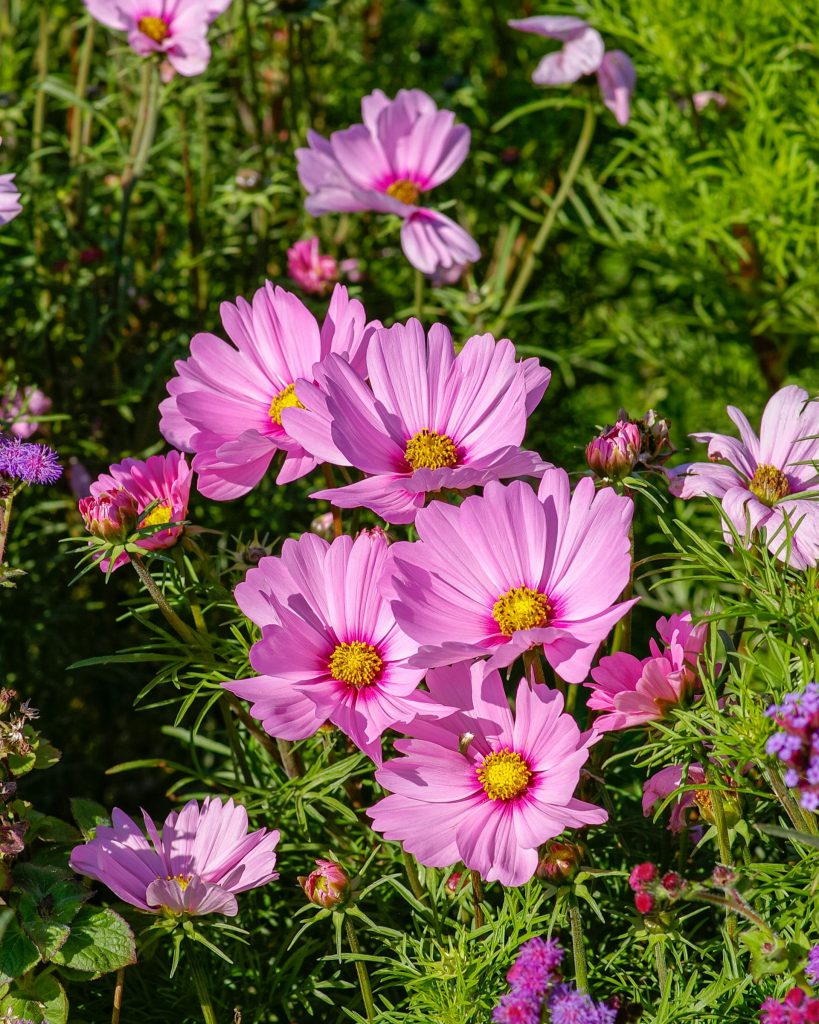
Cosmos (any kind)
Super-long flowering, with lovely fern-like foliage, cosmos come in shades of white, pink and burgundy, and can be tall or short. Sow in early spring, plant out in late spring.
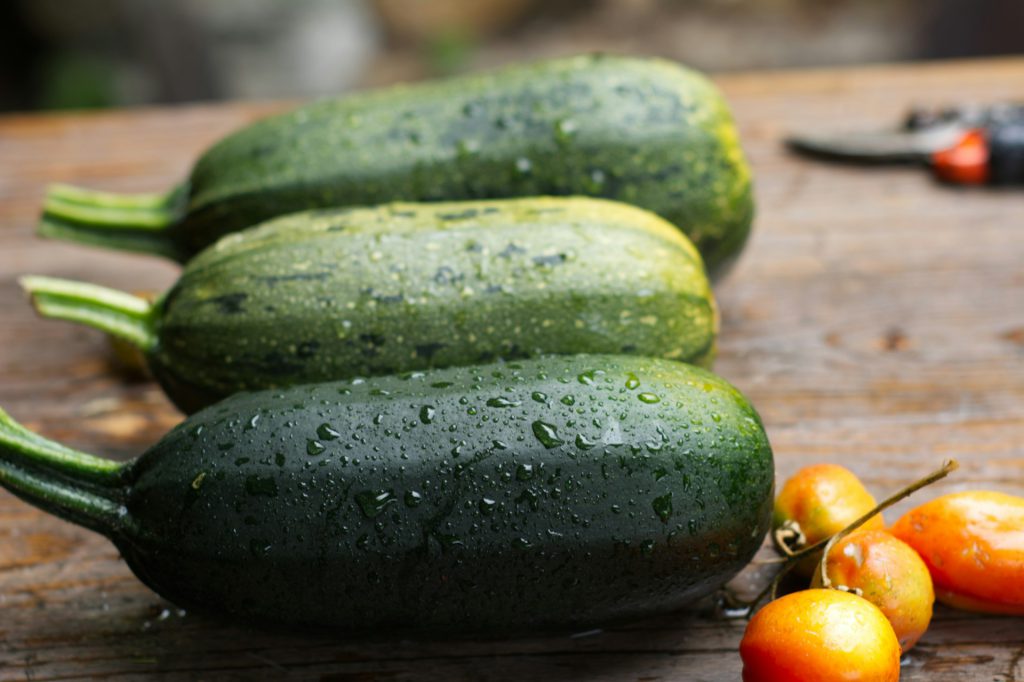
Courgettes
Sow seeds on their side on small pots from mid April and plant out in late spring. Courgette plants needs space and rich soil for the best crops.
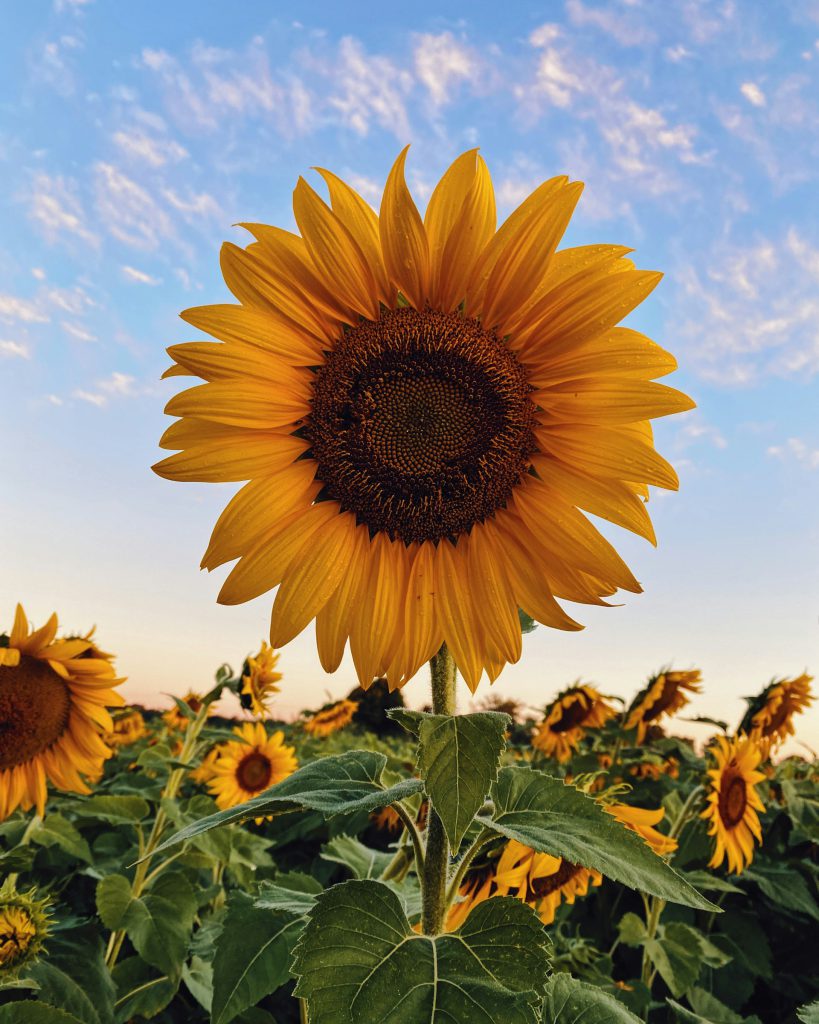
Sunflowers
Bright, breezy and easy to grow. Sow in small pots in early spring, plant out in early summer.
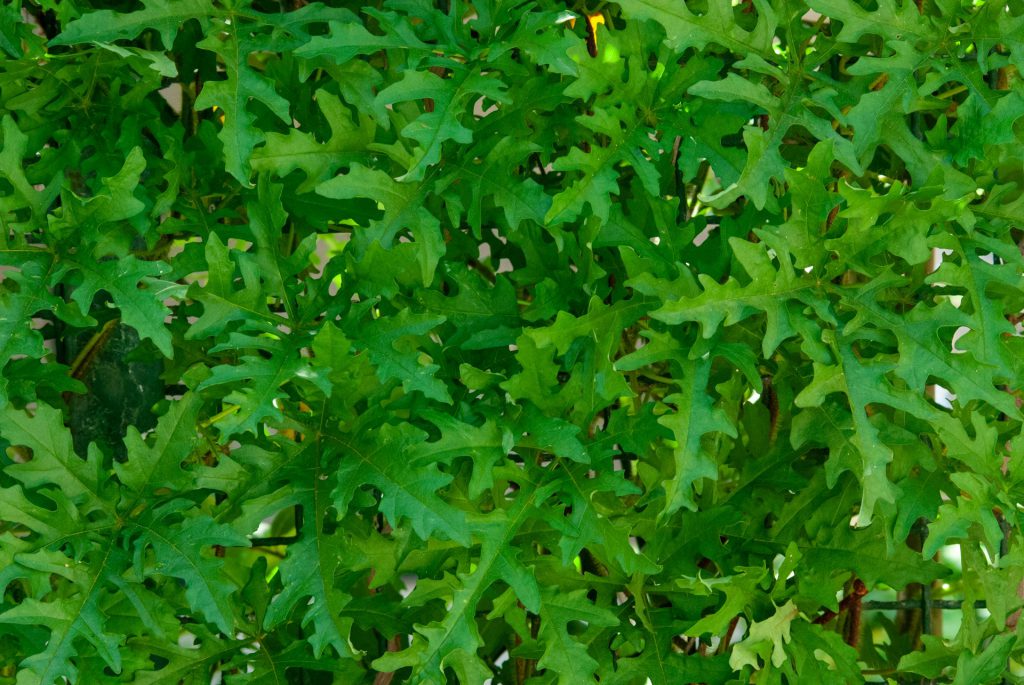
Rocket
It doesn’t get any easier: sprinkle seed directly into good weeded soil from early spring. You can keep doing this every month or so right into autumn.
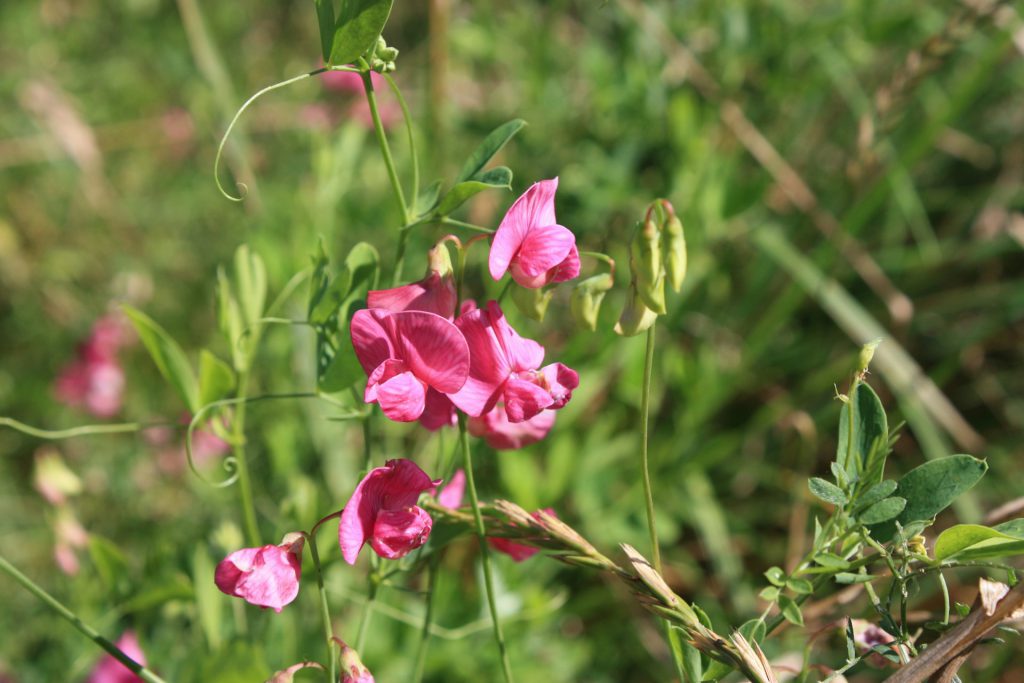
Sweet peas
The most fragrant English cottage garden flowers. Sow in empty loo roll tubes or long pots in early spring, plant out in late spring.
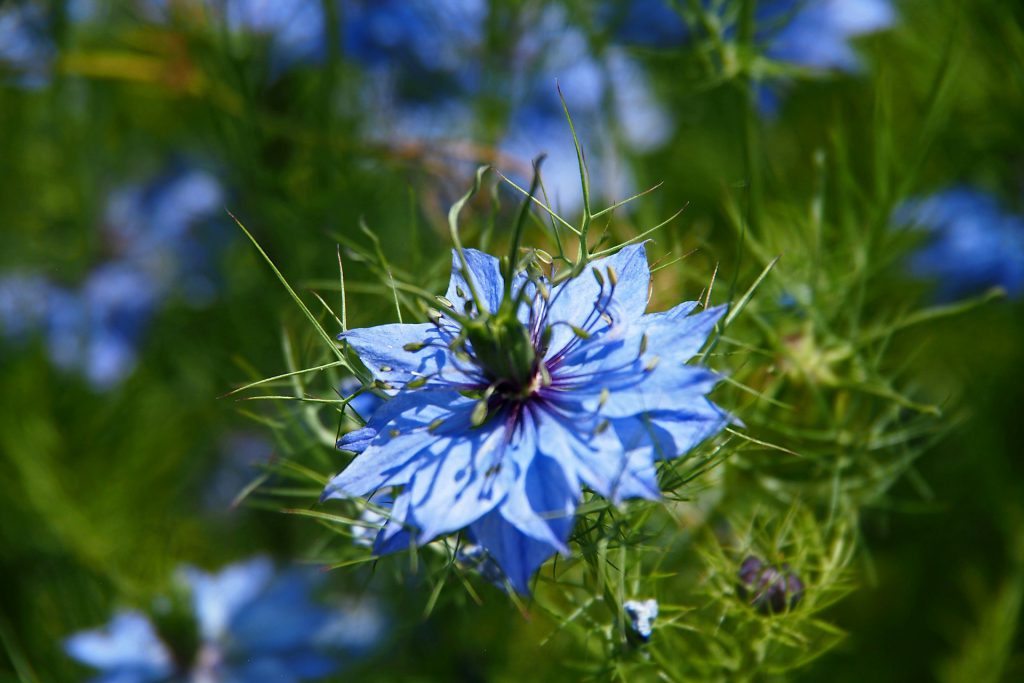
Love-in-a-mist (Nigella)
One pack will create a gorgeous haze of sky blue flowers that will self seed for years to come. Sow direct outdoors in spring.
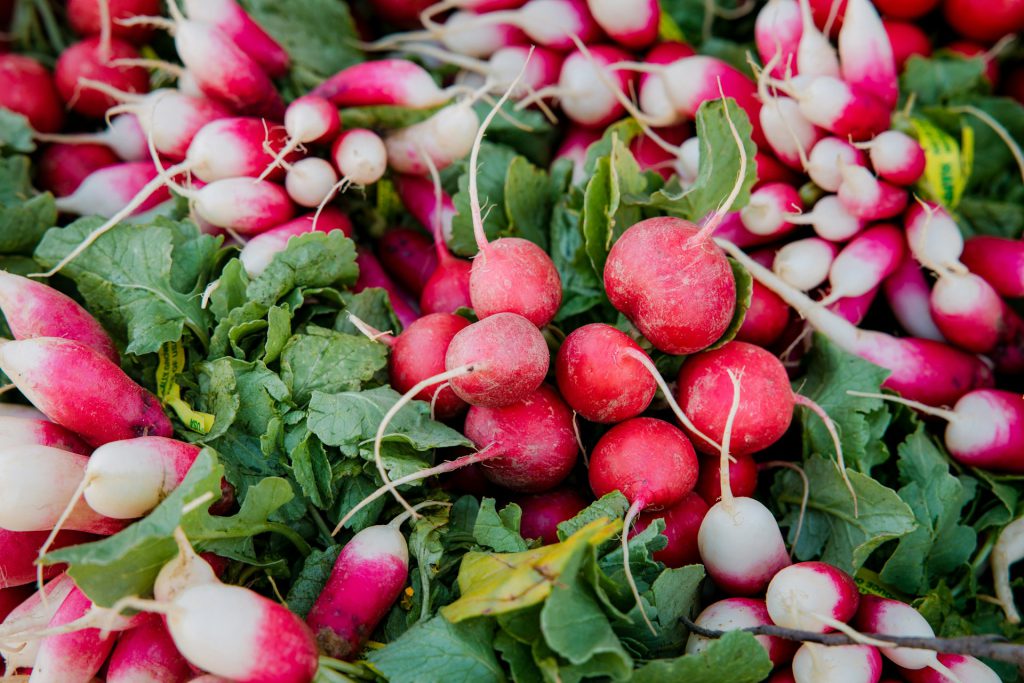
Radishes
The quickest veg to crop. From March, direct-sow outdoors into weeded and raked soil; keep well watered, thin out any clumps of seedlings and you’ll be harvesting in six weeks or so.
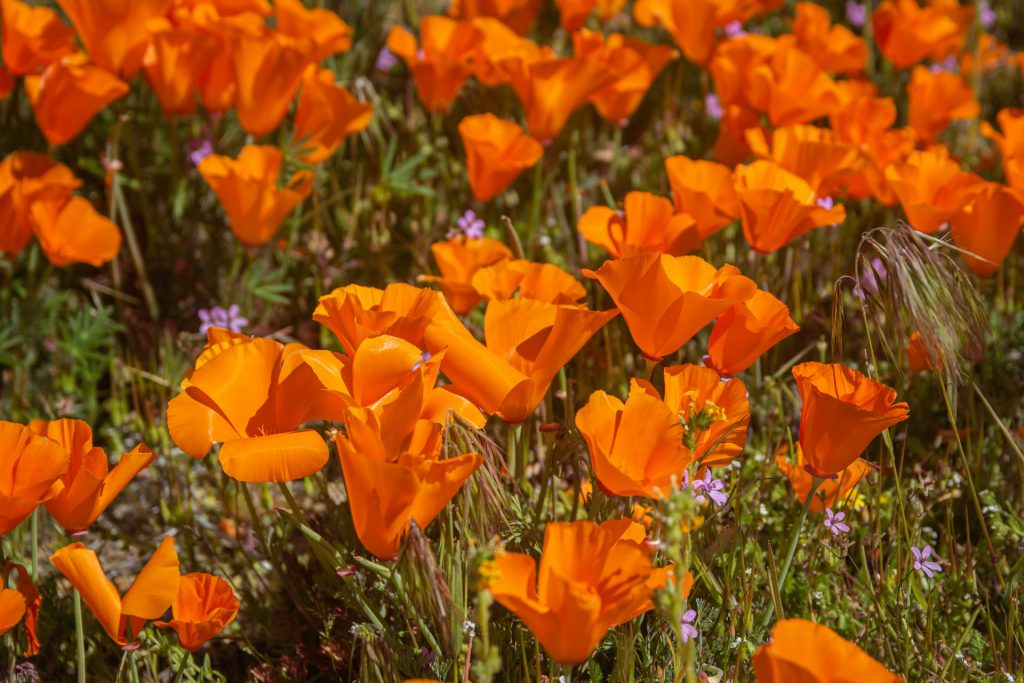
Californian poppy (Eschscholzia)
Super-vibrant yellow-orange flowers and perfect in a dry, sunny spot. Direct-sow outdoors in spring.
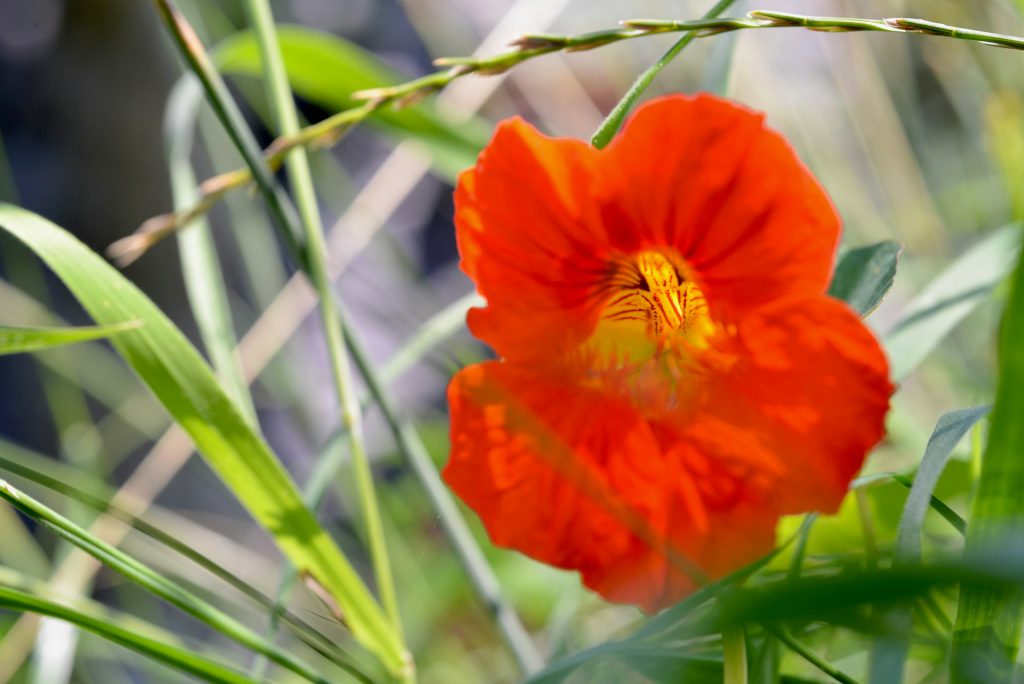
Nasturtiums
Great for growing in the veg patch, alongside aphid-prone beans and peas. The flowers and leaves are edible and peppery. Direct-sow outdoors in spring.
Read more:
OUTDOOR GARDENING
INDOOR & OUTDOOR GARDENING
GARDENING
ENVIRONMENT
INDOOR PLANTS
Shop from this story:
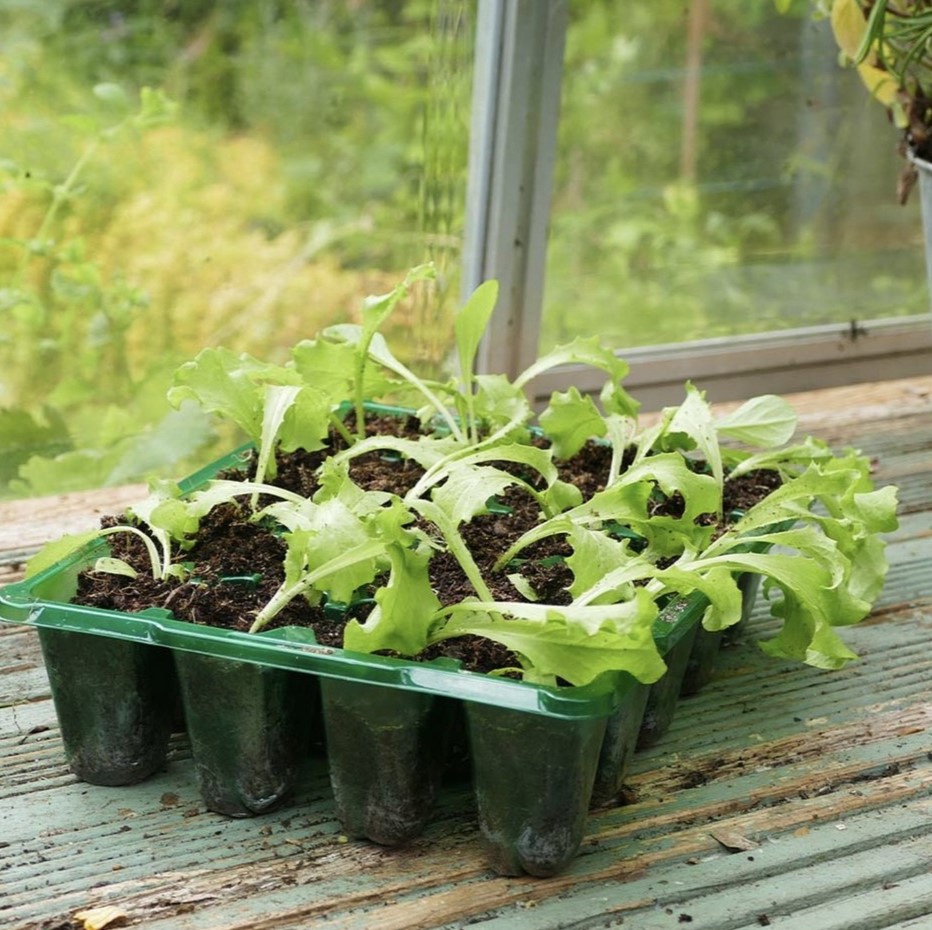
Trays and grow pots
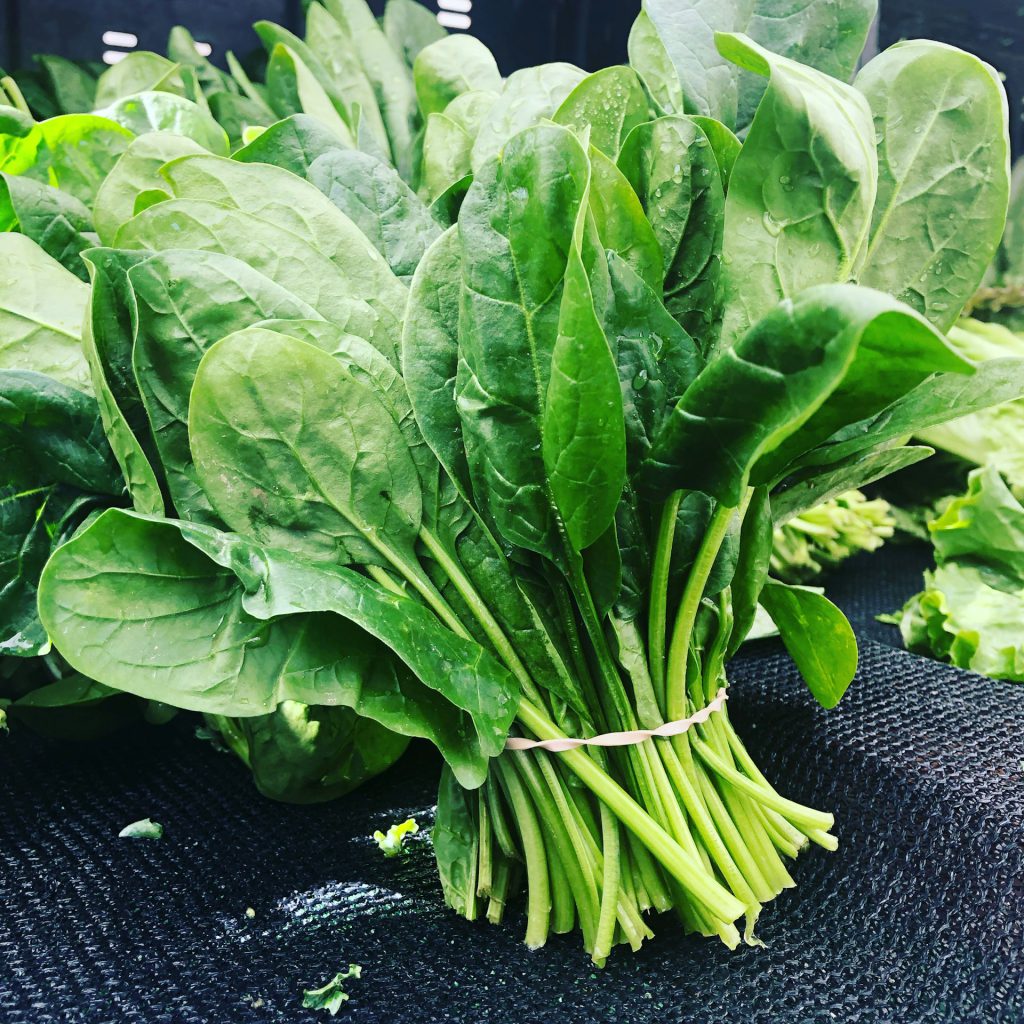
Vegetable Seed
Compost
